Do you want to add a content box to your blog post to boost your conversion? Or to increase your Click Through Rate a.k.a CTR?
Content boxes have been used widely to catch readers’ attention. A CTA. A disclaimer. A tip. Or even a disclosure. It’s been proven that displaying your CTA in a content box will drive higher conversion and engagement rate. In addition to that, it’s an effective technique to stop visitors from skimming your content and leave.
In this article, I’m going to show you how to easily create and add a content box with various colors to your blog post.
[click_to_tweet tweet=”Use this technique to capture your readers attention.” quote=”Use this technique to capture your readers attention.”]
Content Box — in a nutshell
So, you might be wondering what is a content box?
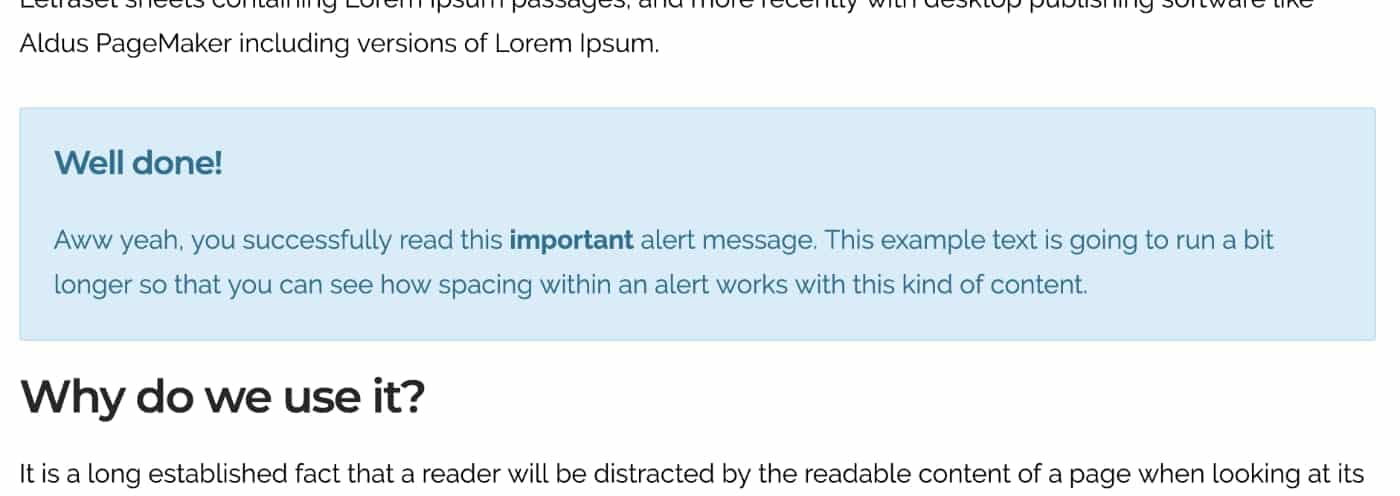
That’s right. A content box is basically a box — usually a colored box — used to display highlighted content to make it stand out and attention-grabbing. Chances are you might have seen this technique used by bloggers everywhere.
Sharon from Digital Nomad Wannabe used a content box to display a post outline or table of content. It grabs readers attention and informs them what to expect.
Brian Dean from Backlinko used a content box to drive higher engagement rate on his CTA.
I like to use a content box on my post to highlight specific information.
So, how do you create a content box?
You could create a content box with a mix of HTML and CSS code. If you don’t have a blog yet, follow these tips to start your own blog.
Here we go.
[click_to_tweet tweet=”Increase your conversion with a content box” quote=”Increase your conversion with a content box”]
Adding a Content Box in WordPress
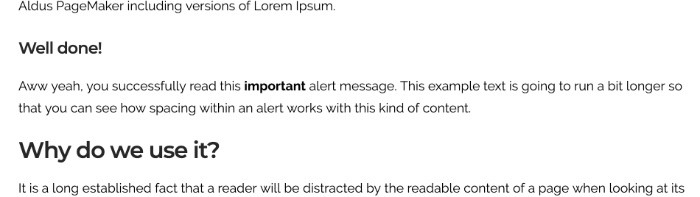
Before we begin, this is what we’re going to create.
A blue color content box with a heading and paragraph.
First, open a post or page and switch to the “Text Editor”.
We’re going to insert HTML code on the editor. It won’t work if you’re using “Visual Editor”.
Copy the following code to your editor.
This HTML code allows you to display a heading in h4 tag and paragraph. You could change h4 tag to h5 or h6 based on your content structure. If you don’t want to display a heading, simply delete it.
You should see something like this:
You have created a content box with HTML but it’s not styled yet — with CSS.
Now, need this CSS code to the end of your child theme style.css to make it look better.
Now, you should see a better content box. The one that we saw earlier.
Feel free to play around with the color of the text, border, and background of the content box.
But wait — there’s more.
Inserting HTML code every single time is troublesome. What if you could insert a content box without a single line of code?
Gutenberg — to the rescue
If you’ve updated your WordPress to the latest version and been using the new editor, you’re in luck.
With the release of WordPress 5 and its Gutenberg editor, creating something like content box could be done without a single line of code — ain’t that nice.
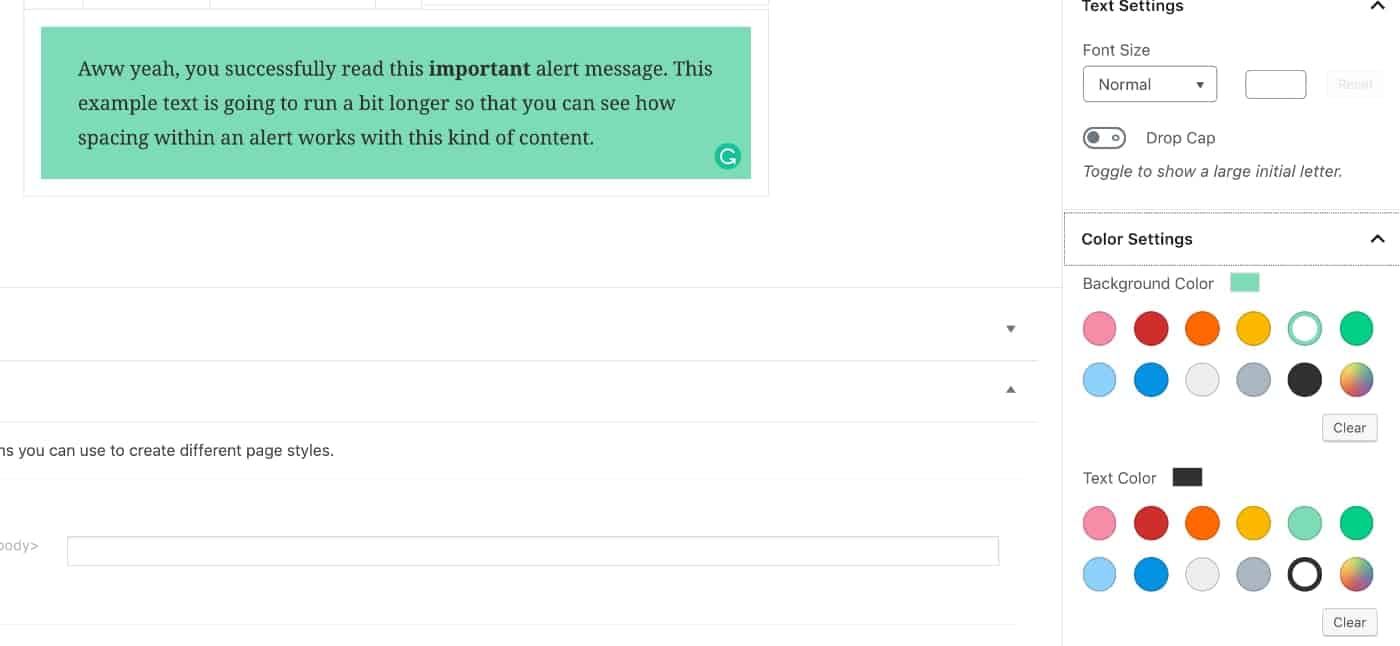
Simply add a new paragraph block.
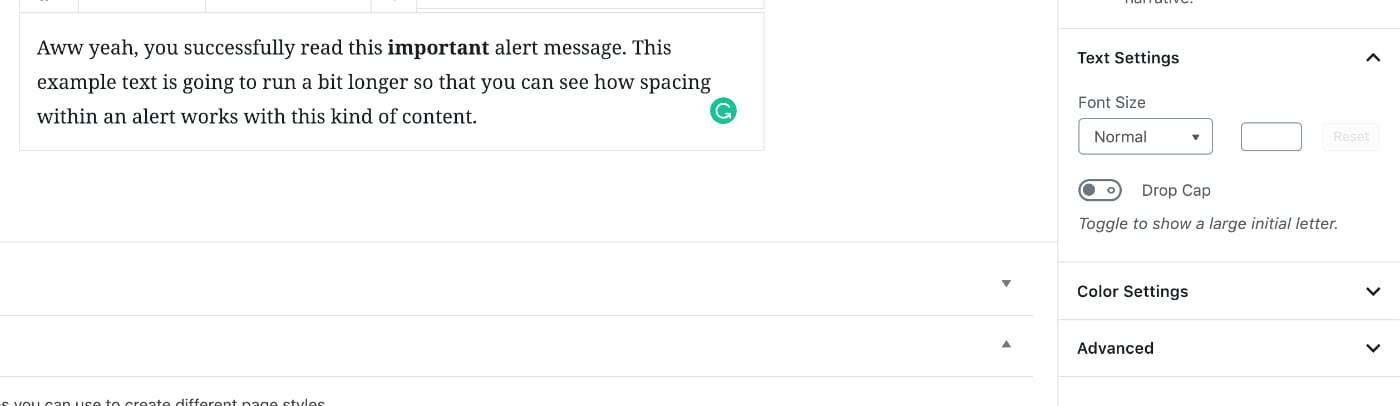
Next, click on the color settings on the sidebar and choose the background color and the text color. Voila, you’re done!
Final Thoughts
I hope this article helped you add a content box on your post to increase your conversion on your CTA. You may also want to check our tips to improve the social sharing of your post to increase dwell time on your site.
Well explained. I was wondering and visited many pages but not able to implement it, as I am new to this CSS and HTML but finally I was able to set it for my new website as explained in very simple manner.
Thanks!! keep writing good stuff.
Thanks, Dev! Glad you found it useful!
You lost me at “Now, need this CSS code to the end of your child theme style.css to make it look better”. I’m not sure where to add the CSS code? 🙂
Hi Caroline, thanks for your comment.
Every WordPress theme has a style.css file that dictates how your theme looks like.
Before you made changes to the style.css file, it’s recommended to create a child theme so you don’t lose any changes you made to the theme when you updated the theme.
I covered the style.css in more details in this article.
Your posts are always so helpful and informative Yuyu! I had no ide how to create content boxes. Thanks a ton!
Thank you Sara. Feel free to let me know if you need any help 🙂